by Sean Bergin
Original File Size - 3.1mb
Image Size - 3456 x 2304
IMG_1202.jpg
This is part 2 and assumes a certain level of Mac knowledge. If you find this in any way complicated you should refer first to Part 1. What I will do here is to use the same photograph as I used in Part 1 but use GraphicConverter's more expansive compression options to give us more control of the resulting size and quality. I will also, at the end, give a quick run-down on compressing a folder full of images in one go. GraphicConverter is a ShareWare application that is available on MacUpdate.com and elsewhere. It is solid and reliable and has been around for many years, it is included for free on most new Macs so you might already have a copy in your Applications or Utilities Folder. If you do not have a copy then I would strongly recommend paying the ShareWare fee.
Step 1
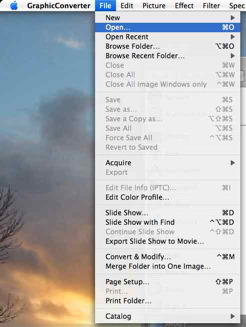
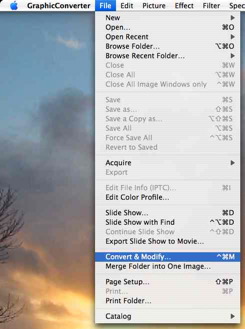
Open the file in GraphicConverter. You will note that GraphicConverter has far more options in the File Menu than Preview has - don't let this deter you, most if not all items are fairly self explanatory.
Step 2
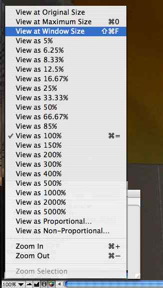
The first thiing you will notice is that your image is displayed at its maximum size. In the bottom left corner of your window you will see the 'zoom' selection options. Click on 100% to get a Popup Menu and select 'View at Window Size' or just type
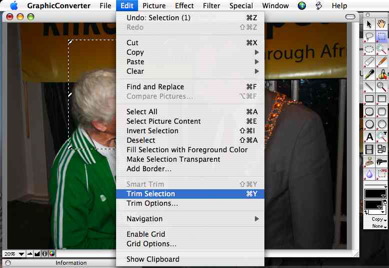
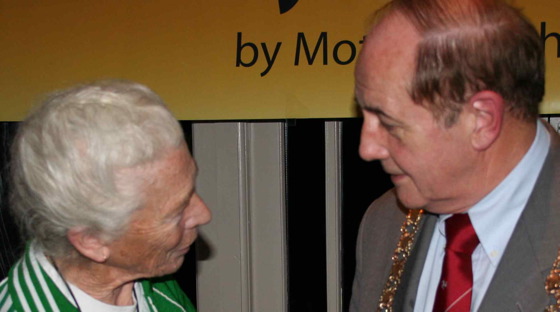
Next thing to do is to get rid of the 'Information' window: either by dragging it out of your way or clicking the 'go-away' red dot. Now, if you do not need the entire photograph, just cllick and drag a rectangle over the area you would like to use (ensure you have the rectangle selection tool selected). Fine tune your selection by dragging the small handles at the corners and mid-points of your selection.
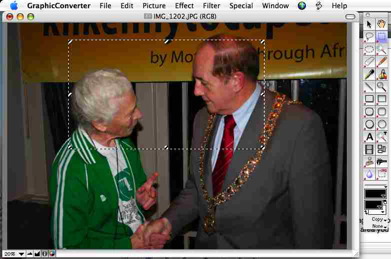
Then select Trim Selection from the Edit Menu. If you are not happy, select Undo from the Edit Menu and try again.
Step 3
Select Save As... from the File Menu
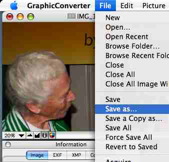
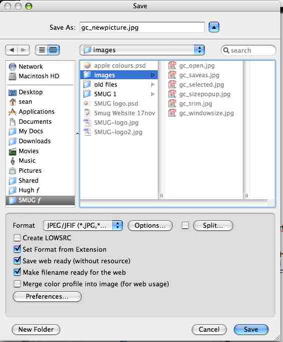
So far things have been very much as the same as when using Preview, however, GraphicConverter offers far more control over the next process. First we need to enter a file name, select the Format to save in from the Popup Menu at the bottom of the dialog then click 'Save' button.
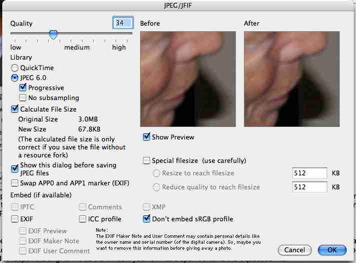
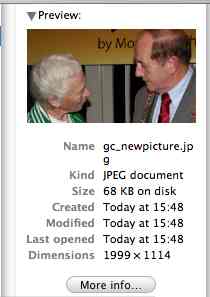
We are now presented with a dialog offering various compression options for our image as well as a preview of how the compressed image will look and the final file size. I have elected to reduce the size to as close to 68k as possible (giving the same final size image as we arrived at in Part 1 of the tutorial) by dragging the Quality Slider to give a value of 34. Also note that the Before and After images may be dragged to investigate any area of your picture for artifacts. Click OK then check the resulting file size in the Finder as detailed in Part 1.
Step 4
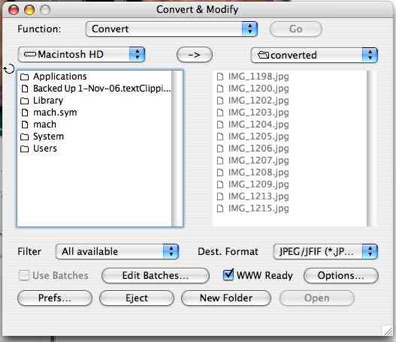
And finally, the fairly straightforward process of converting a folder full if pictures in one go. Select 'Convert and Modify...' from the File Menu.
You will be presented with a dialog which allows you to select items on the left for processing (for example the contents of a folder) and to create a new folder, if necessary, to store the converted images. You are offered a Popup Menu offering JPEG amongst other options, and get the same dialog as you got above before committing yourself to the conversion.