|
NOTE:
This tutorial is translated from www.joshonen.ch.vu.
Full credit goes to the author Joshua Muheim! Translation by thegnat.
Animating a walk-cycle
Welcome back to tutorial #12! :D
The most important move, a human model must be able to do, is walking.
But it would be nonsensical to create an animation with about 10.000
steps, so we create an animation with only 2 steps that can be looped
smoothly. :)
If you had some problems with the past tutorials:
DOWNLOAD
FILE REDZAC_MDL_TUT12A.ZIP!
First load the model we have created
in the last tutorials.
Now activate the Animation-mode by clicking on the big Anim-button
in the lower right corner.
The animation bar is active.
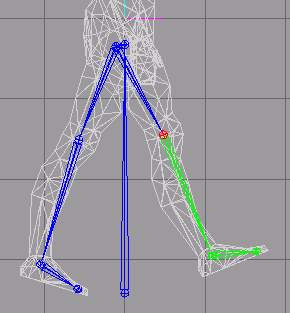
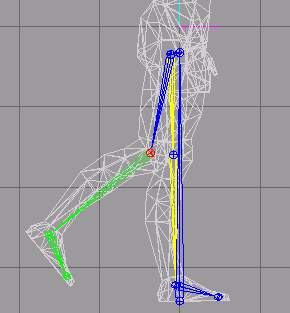
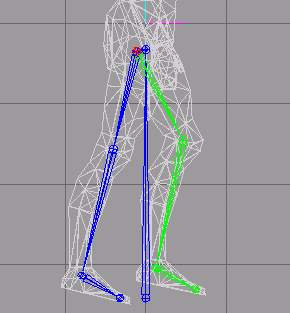
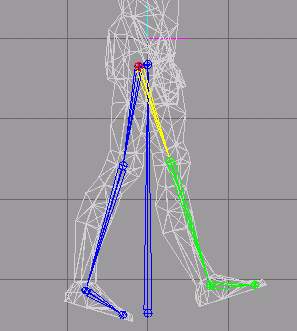
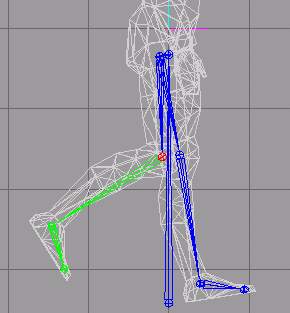
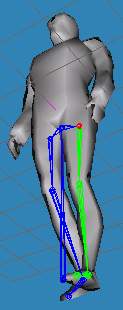
Select the joint Hip left and rotate it to the following position
(activate Rotate):
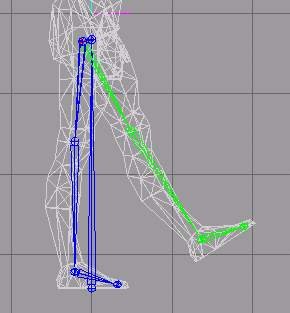
Select Knee left and rotate it to the following position:
Create a keyframe by clicking on Set Keyframe in the Animate-Menü.
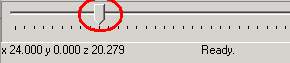
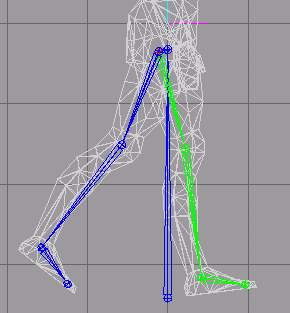
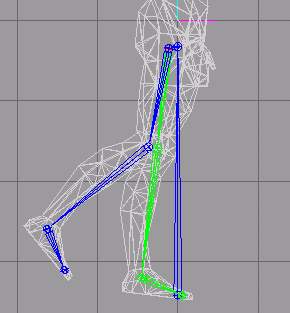
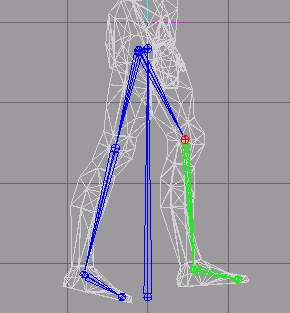
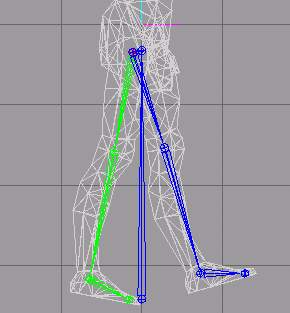
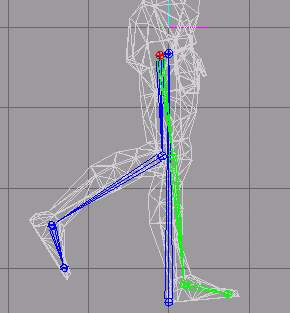
Move the frame-bar to frame 10:
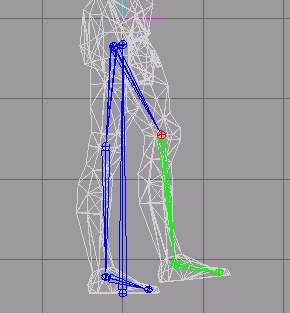
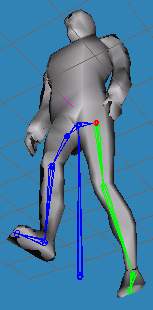
Select Hip right and rotate to following position:
Select Knee left and rotate:
Create a keyframe (make sure, that Operate on selected Joints only
is enabled in the Animate-menu!).
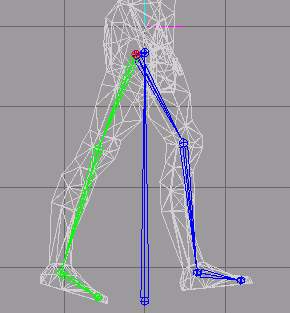
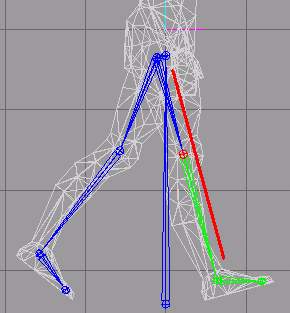
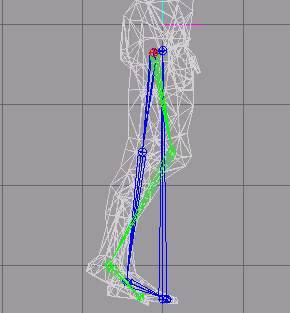
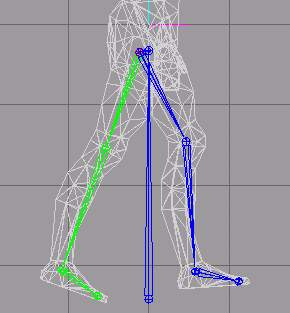
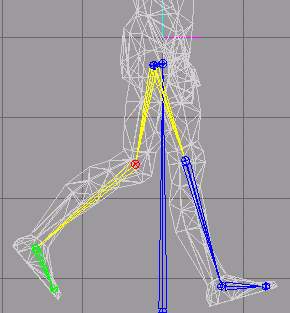
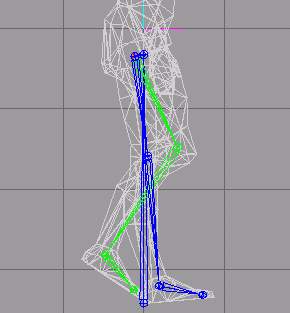
Go on to frame #20.
Select Knee right and rotate it a bit upwards:

Select Hip left and rotate it also a bit back:
Create another keyframe.
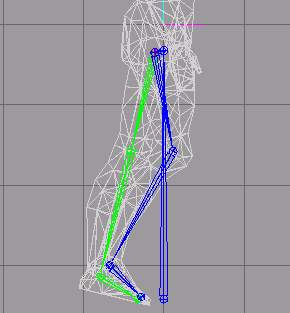
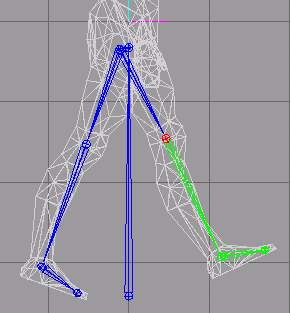
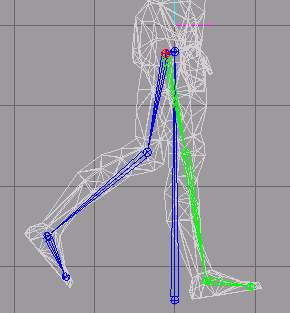
Further to frame #30.
Rotate Knee left slightly forward, until it is in line with the
thigh:
Rotate Hip left backwards until it stands vertical on the ground:

Select Hip right and rotate it slightly forwards:
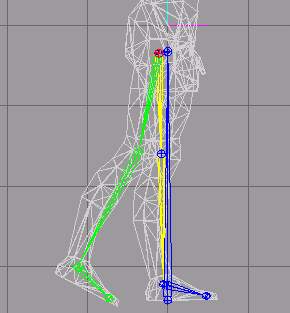
Select Knee right and rotate it a bit backwards:
Create another keyframe.
On to frame #40.
Select Hip left and rotate it a bit backwards:
Select Hip right and rotate it forward:
Select Knee right and rotate it backward:

Create another keyframe.
Frame #50.
Select Hip left and rotate it backwards:
Select Hip right and rotate it forwards:
Select Knee right and rotate it forward:
Create a keyframe.
Frame #60.
select Hip left and rotate it slightly backwards:
Select Knee right and rotate it forwards:
Set a keyframe.
Frame #70.
Select Hip right and rotate it backwards:
Select Hip left und drehe es etwas nach vorn:
Select Knee left and rotate it backwards:
Create another keyframe.
Frame #80.
Select Hip right and rotate it backwards:
Select Hip left and rotate it forwards:

Select Knee left and rotate it backwards:
Set another keyframe.
Frame #90.
Select Hip right and rotate it slightly backwards:
Select Hip left and rotate it forwards:
Create a keyframe.
Because we want to create an animation, that we can play in an endless
loop (without noticing that :P ), the first and the last keyframe have
to be identical.
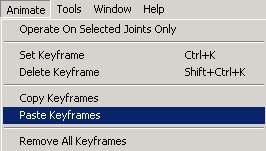
To do so, copy Frame #1 and paste it on Frame #100.
First go to Frame #1.
Deactivate Operate On Selected Joints Only in the Animate-menu.
Click on Copy Keyframes in the Animate-menu:
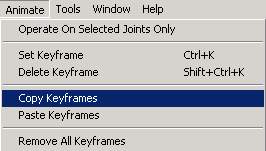
Go to the last frame (frame #100) and click Paste Keyframes in
the Animate-menu:
Create a keyframe again!
Done! :D
Lets play the animation we've created:
Doesn't look that bad, does it?! ;D
I would say, this tutorial was average because it was a bit difficult
to follow the single steps. But even something hasn't worked perfectly,
now you have the knowledge to create animations in milkshape! Congratulations!
:)
We'll see us at the last big chapter: Skinning In Milkshape!
|