|
NOTE:
This tutorial is translated from www.joshonen.ch.vu.
Full credit goes to the author Joshua Muheim! Translation by thegnat.
6.
Human :: Upper Body
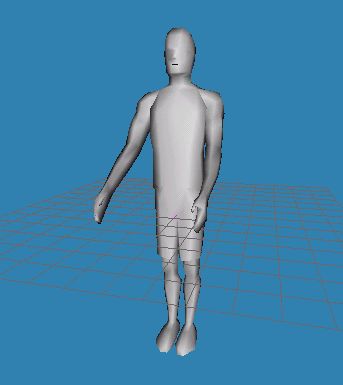
After we worked downward, its time to model the body! Lets give our
model a bottom! :D
If you had some problems with the past tutorials:
DOWNLOAD
FILE REDZAC_MDL_TUT05B.ZIP!
Furthermore I assume that you already find the way through Milkshape
(modeling) and I am wanting to let pictures speak more again.
BOTTOM
Let's model a crisp round bottom! :D
This is similar to the creation process of the leg: placing vertices
in 2D view, moving vertices to the right spot and connecting them to
faces. Let's go! :)
Place vertices:

Move vertices:

Place another vertex:
and move it:

Connect vertices with faces:

Place vertices:
Move 'em:
Connect with faces:
...and there our work on the bottom is nearly completed! If you have
the right half of the bottom, you can mirror it and you have the left
half of it. We will do this step some tutorials later...dont mind it
yet. ;)
But if we are once in this region, we should now create the pelvis!
PELVIS
We hide the vertices and faces of the back side, so that these don't
confuse us!
Select faces...
...and hide (Edit / Hide Selection):
Place vertex:
Move:
Face:

We continue our work after we mirrored the right side onto the left
side.
If you had problems with the past steps please download the following
file to continue:
DOWNLOAD
FILE REDZAC_MDL_TUT06A.ZIP!
(Attention! If you downloaded the file and can't see the the work you've
done, remind that most of the faces are hidden!)
UPPER PART OF THE BODY
We go further with the upper part of the body, containing belly, chest
and back! :)
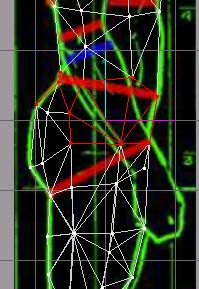
place vertices:
move vertices:
place:
move:
Create Faces:
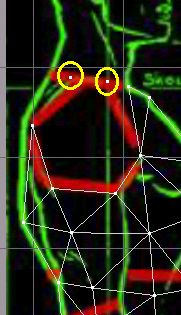
Place vertices:
Move vertices:
Faces:
Place vertices:
Move:
Create faces:
Lets make all faces visible, that we can see, what we've done right
now! :)
Doesn't look that bad, does it?! :D
Here comes the probably most difficult part to (esthetic) model: where
the arm meets the body. :S First it looks simple, but this part must
be extremely flexible if you want to animate the model! Because: the
most mobile of the human body is the arm! The arm can move forward,
backward, up and down - even rotate a little. To make the animation
look good you have to make many changes after modelling, called: perfecting.
To prepare the arm for this step its helpful to model it as flexible
as possible.
First some theory! :D
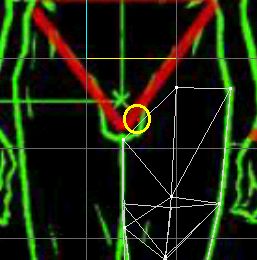
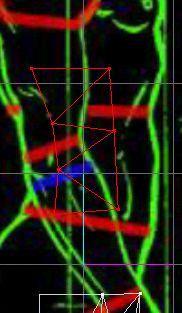
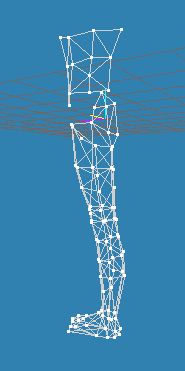
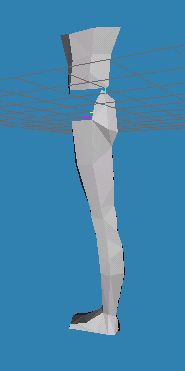
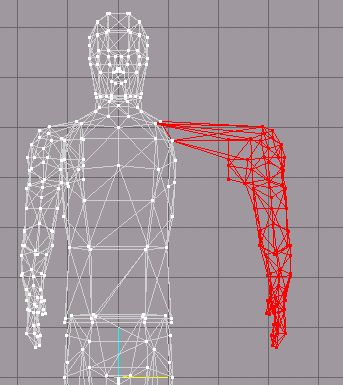
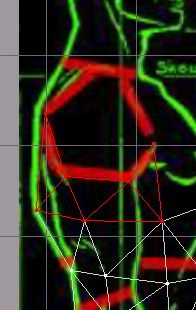
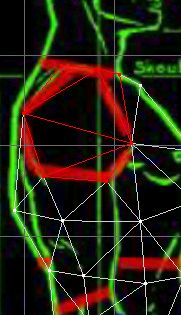
There are many possibilities to model an arm on the body. Best looking
would be if the arm is modelled like the legs - as a part of the whole
model. This would look like this:
If the model would be static it would look very good, but if you animate
it, many faces would bend and rotate, overlap or be pushed to unnatural
places! You probably cant imagine that, but if you start seriously modelling,
you'll get your experiences with some of those "problem-zones"!
:D
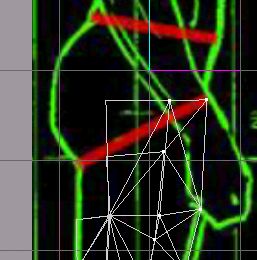
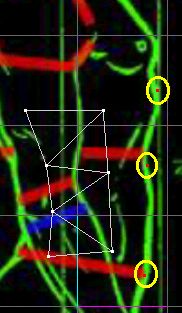
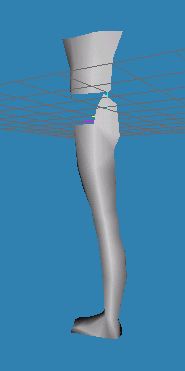
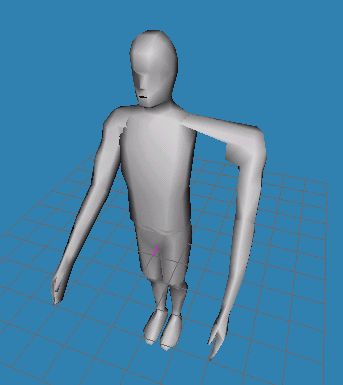
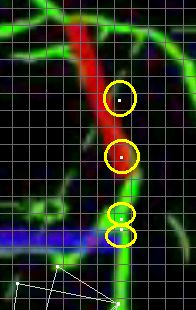
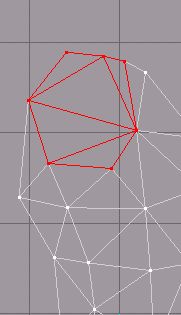
Another possibility to attach the arm to the body is to model it seperately
and stick it into the upper body: ;)
This arm would be good to animate, but it wouldn't look very clean at
all, because the skin could be moved during animation, or the arm does
not fit to the body!
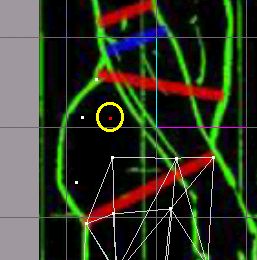
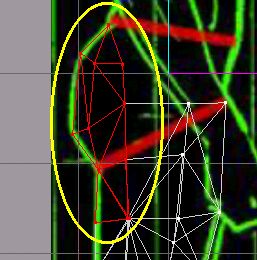
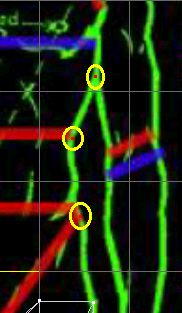
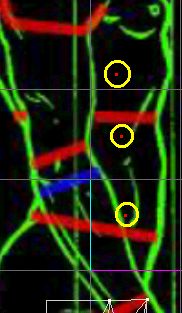
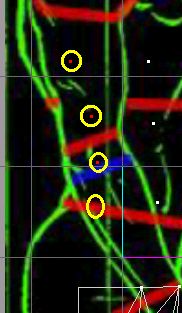
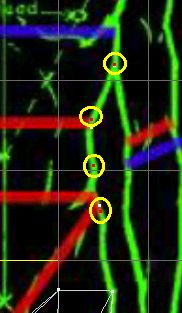
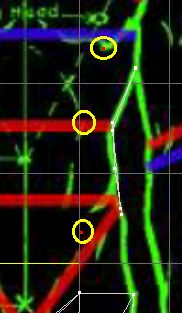
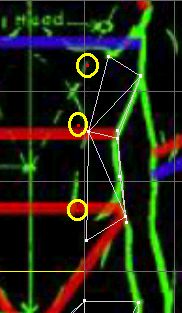
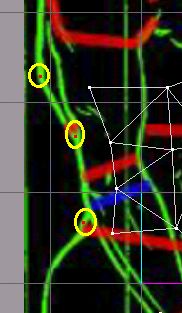
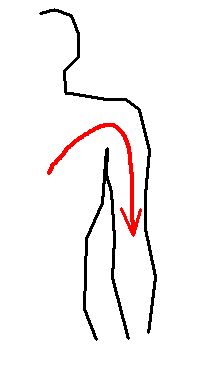
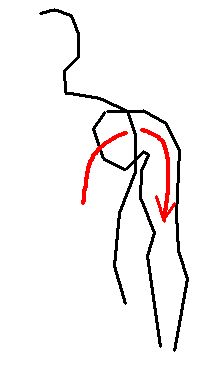
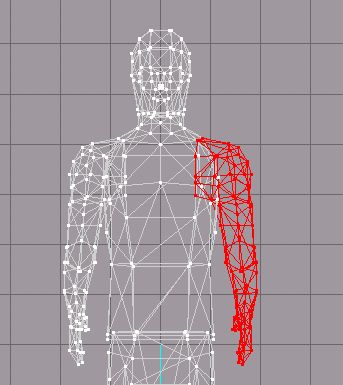
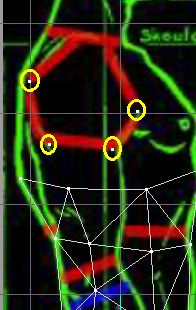
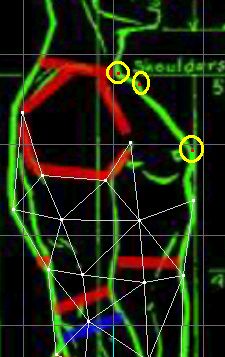
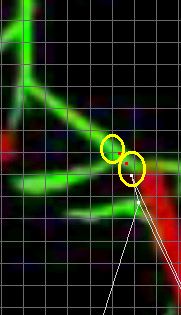
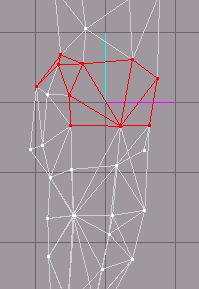
The middle course is how so often the best one! :) What should that
mean? Where you can see the skin clearly you connect arm and body -
where you don't you simple stick it into the body. :)
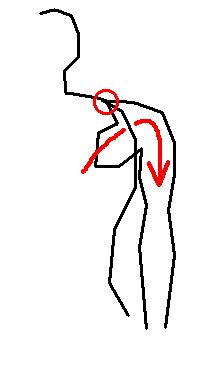
In red circle, the arm-model is connected with the body.
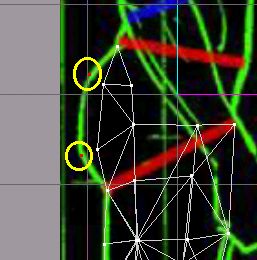
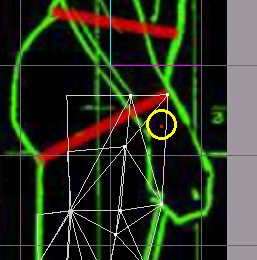
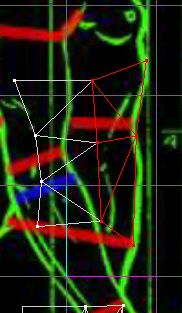
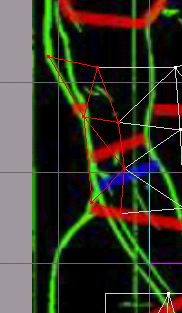
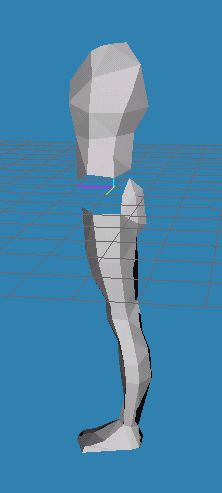
Maybe the following pictures can clear that completely:
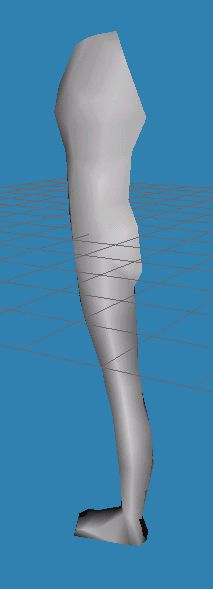
Thats how it looks natural:
Got it? Lets go to work! :)
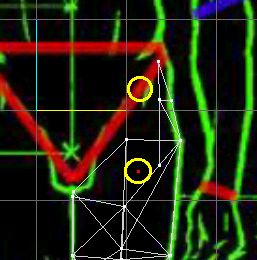
Place vertices:
Move:
Create faces:
Place vertices:
Move:
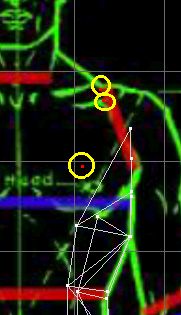
Faces:
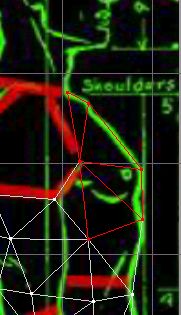
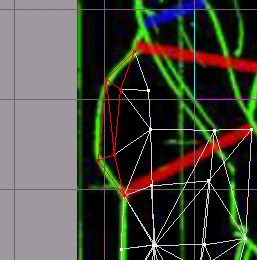
Place:
Move:
Faces:
In completition it should look like this:
We also will be able to complete chest and back only if we have mirrored
the made side to the left. But this step we will do after we have completed
the arm, neck and head.
Connect sub-body and upper part of the body at the hip.
Create faces:
Tadaah! :D
If you had problems feel free to download the file:
DOWNLOAD
FILE REDZAC_MDL_TUT06B.ZIP!
|