If you would like
your tutorial listed here or suggest a tutorial contact java229@hotmail.com
or use the contact link here.
Micro Button Tutorial
in ten easy steps (Created with FX MX 2004)

1.
Create a new file 500 by 500 pixels (image below displays 1024*500, just give
yourself enough space to work)
2.
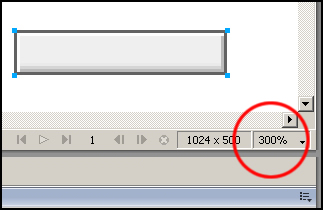
Zoom to 300% as shown below.
Keep your workspace at 300% until the button is complete.
3.
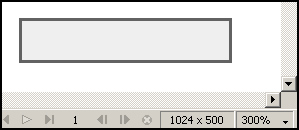
Now create a rectangle 71 by 15 pixels with the following settings.....as shown
in the image below.
Outer edge #626262
Inner #EFEFEF
Edge Hard
4.
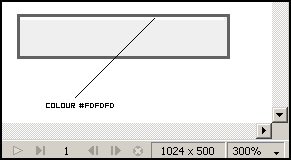
Now create a horizontal line...for the top edge...
1 pixel
Hard Line
Colour #FDFDFD
5.
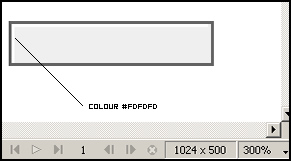
Create a vertical line for the left hand edge,
1 pixel width,
12 pixels in height ,
colour #FDFDFD
6.
Create a vertical line for the right hand edge,
1 pixel width,
12 pixels in height,
Colour #BBBBBB
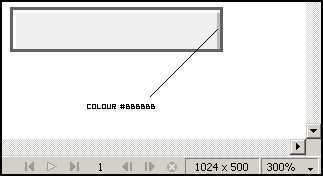
Now we'll create the lines for the bottom edge. You're
nearly finished.
7.
Create a horizontal line with the following settings...
67 pixels wide by
1 pixel in height,
Colour #BBBBBB
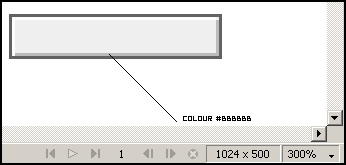
8.
You need to copy this line so with this line selected...
CTRL+C, THEN
CTRL+V
Hit the arrow key up once to move the pasted line up one pixel. as shown below...
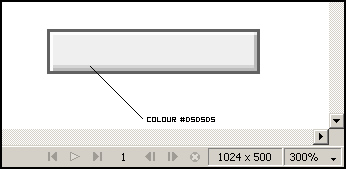
9.
Now with this line selected ctrl+c and ctrl+v again,
Move the line up one pixel by pressing the up arrow once
Now change the colour of this line to #EAEAEA
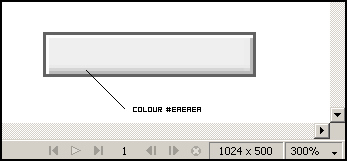
10.
CTRL+A to select all the graphics on the workspace, and
Ctrl+G to group your selection.
Now reduce the zoom to 100%.

You're probably better off to practice with the
tutorial but for those of you with little patience the source files are here.
Couldn't be easier!!!!
BACK TO TOP |


