
| Workshop
Build
|
|||
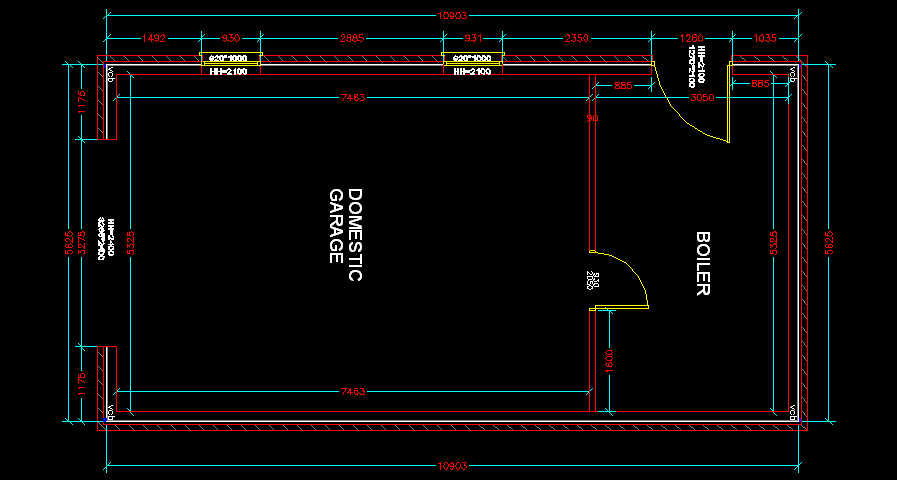
| 1 - The
Plan
|
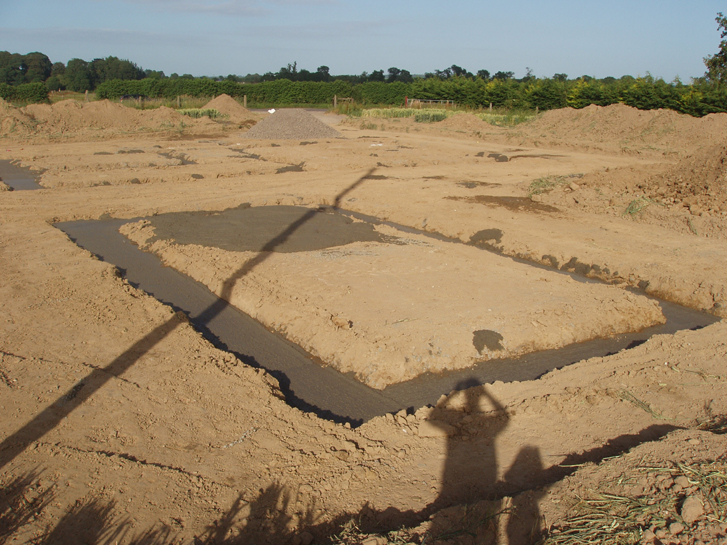
2 - Foundations
|
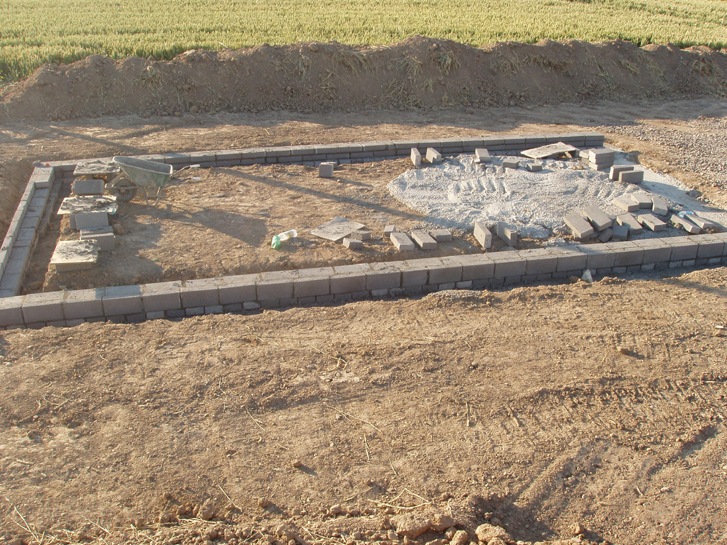
3 - Rising Walls
|
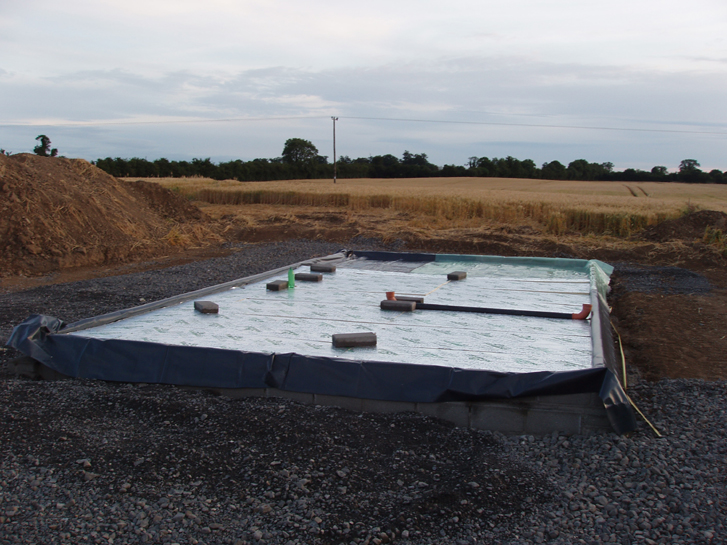
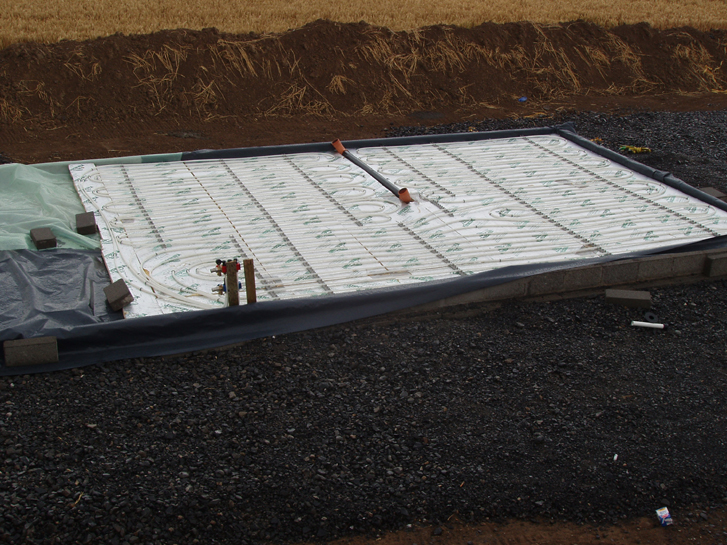
4 - Underfloor Insulation
|
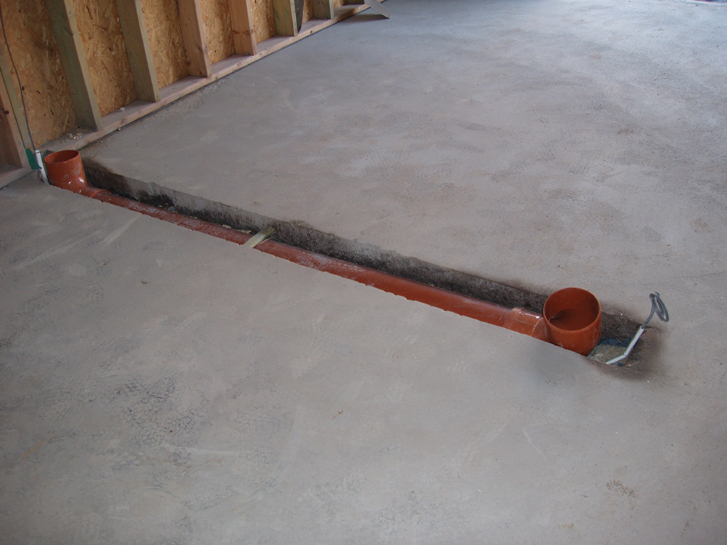
| 5 - Underfloor Pipes
Heating In
|
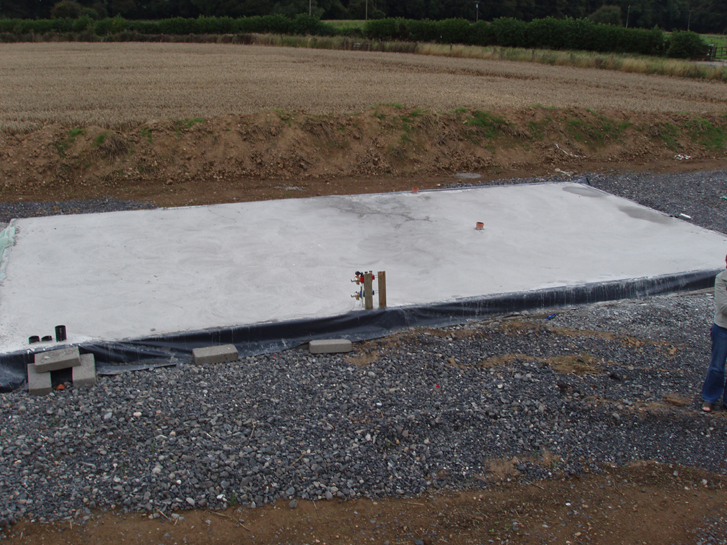
6 - Concrete Slab
Poured
|
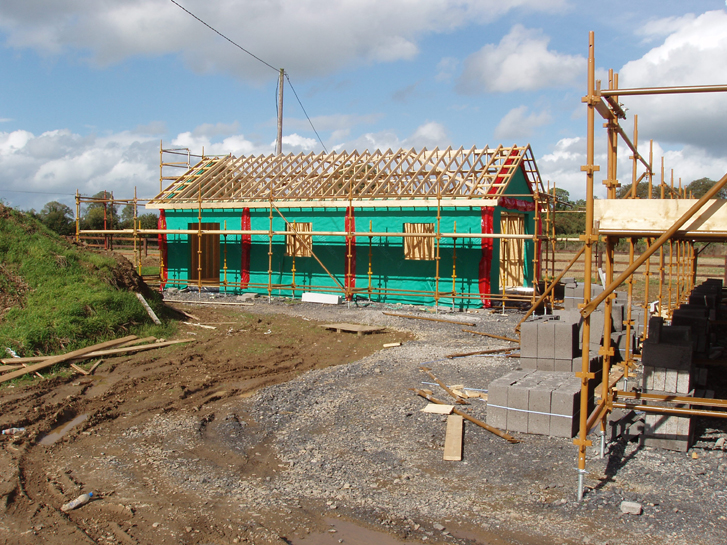
7 - Timber Frame
Erected
|
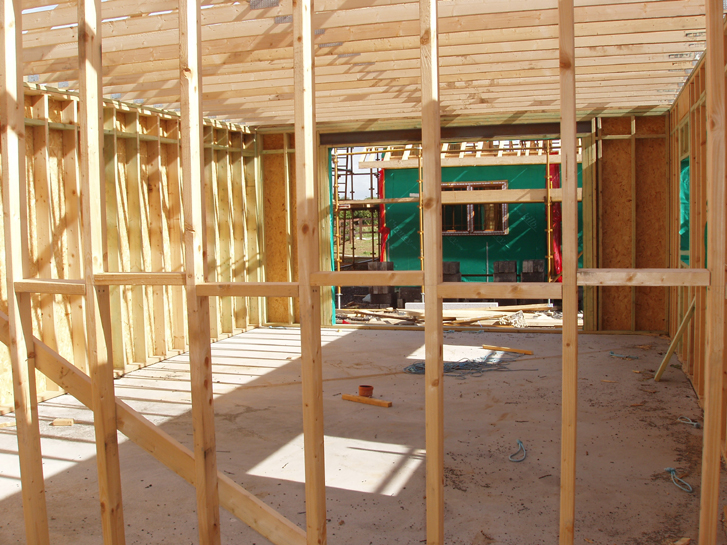
8 - View From Store
Where Everything Else Goes
|
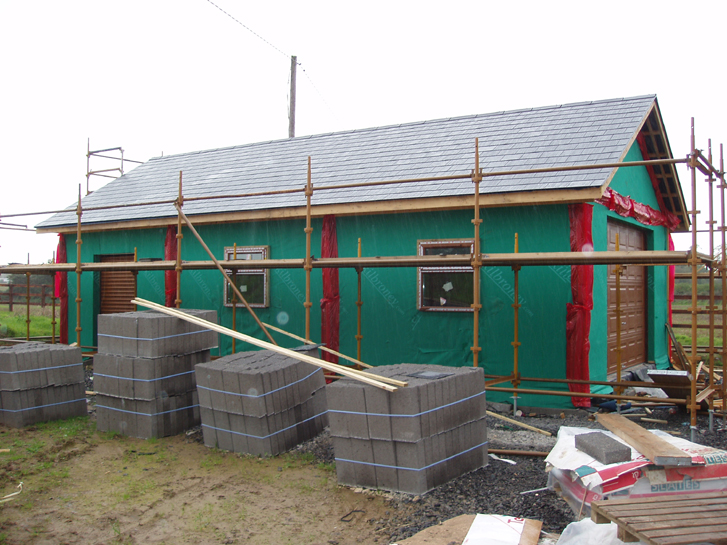
| 9 - Slates, Windows
& Doors In
|
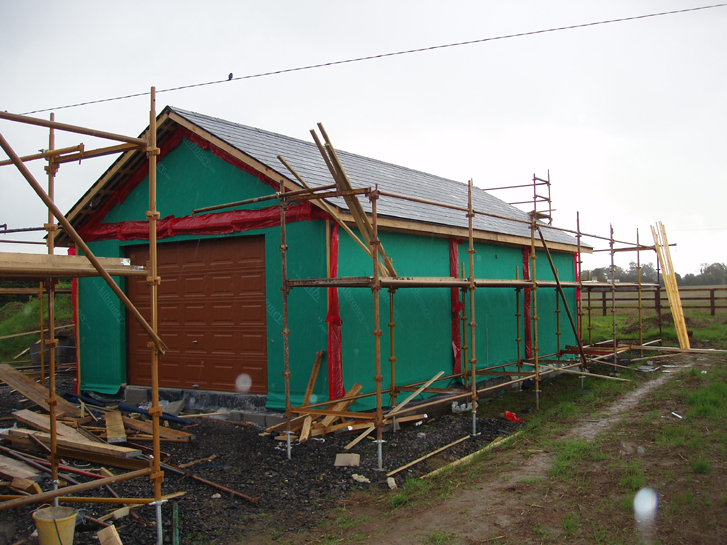
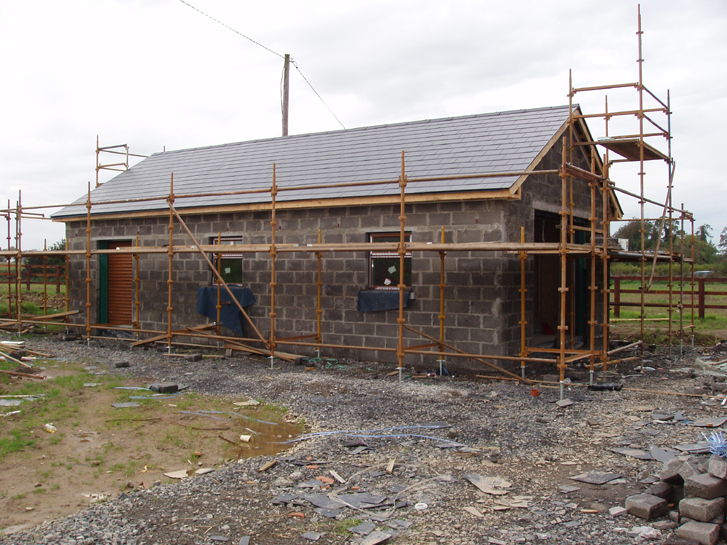
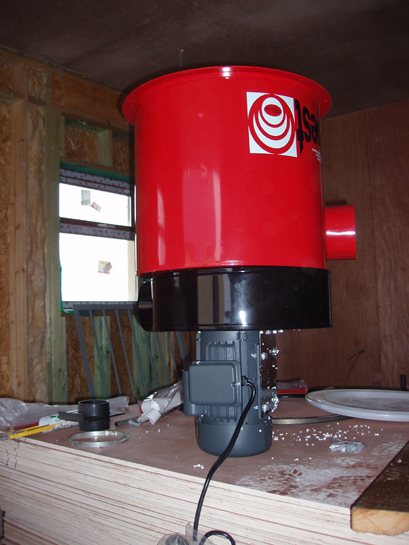
10 - View From The
Other Side
|
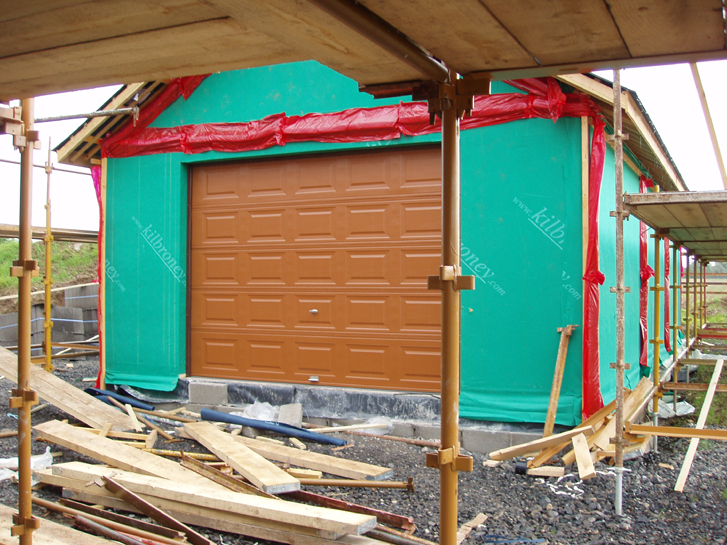
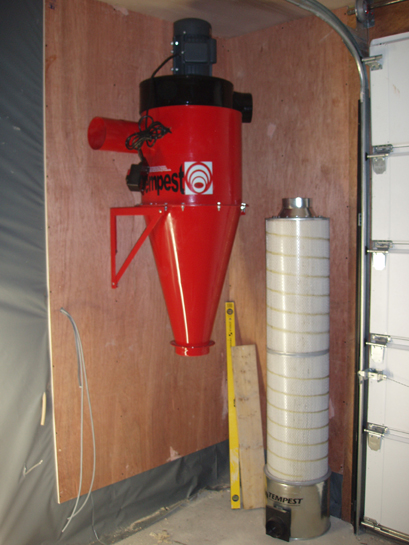
11 - Insulated
Garage Door Closeup
|
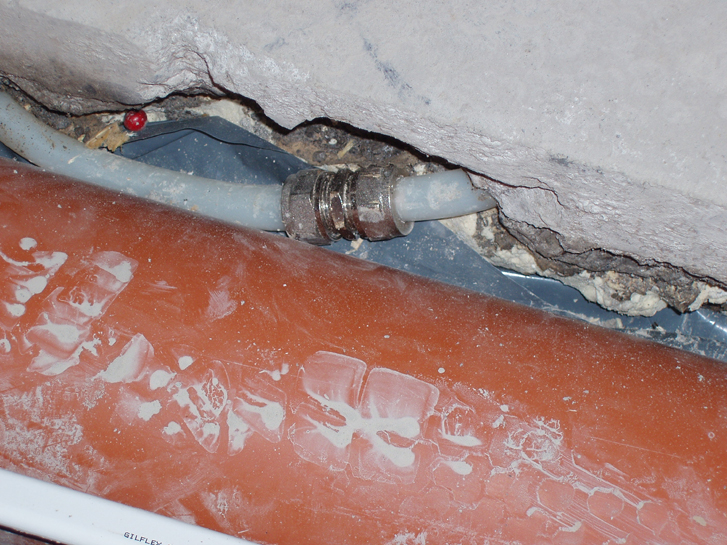
12 - 110mm Duct
Replaced With 160mm
|
| 13 - Damage To
underfloor Heating Pipe After Replacing Duct
|
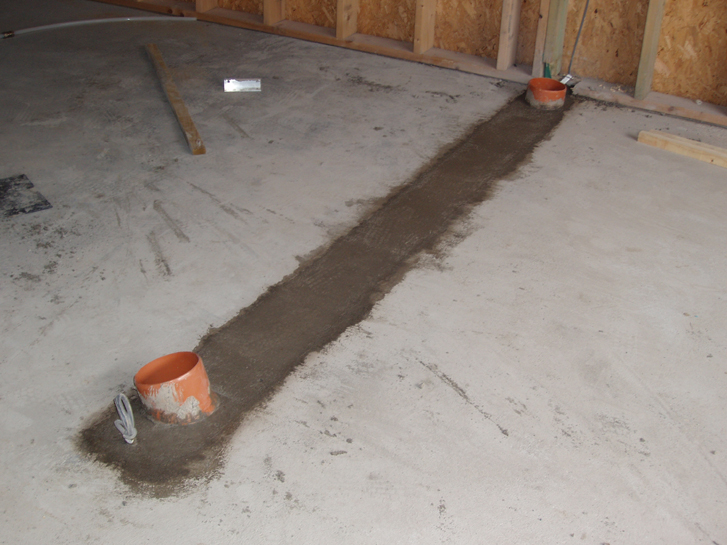
14 -
160mm Duct Concreted In
|
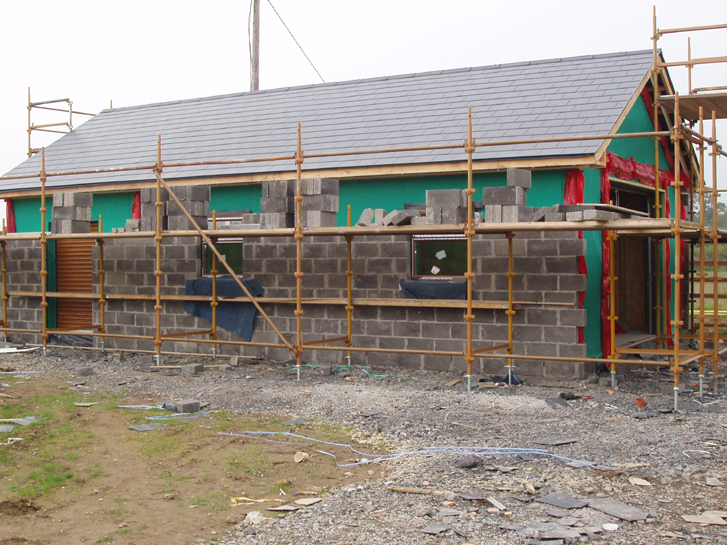
15 -
The Blockwork Is Started Finally
|
16 -
Blockwork Finished
|
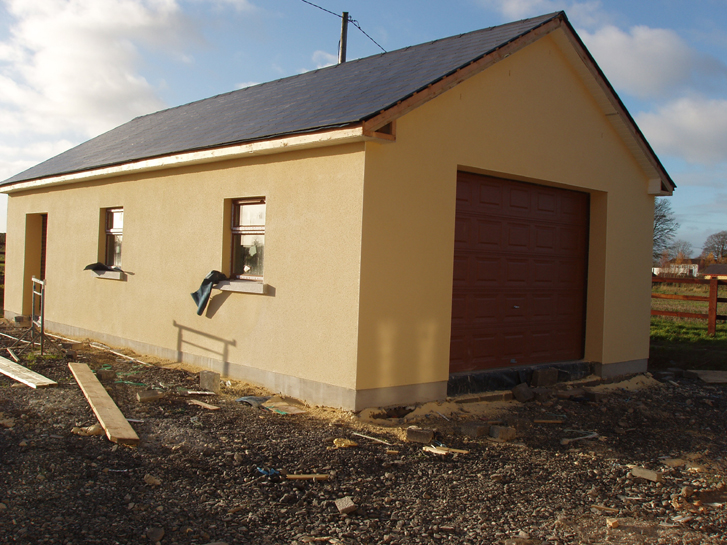
| 17 -
Plastering Complete Near Side
|
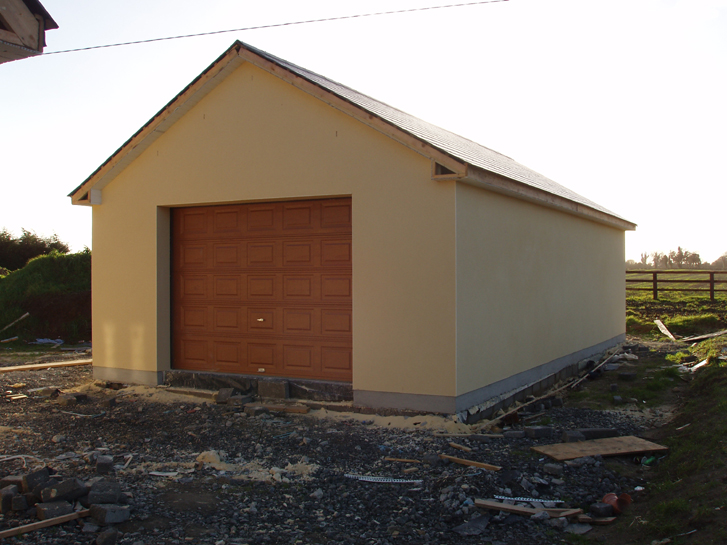
18 -
Plastering Complete Far Side
|
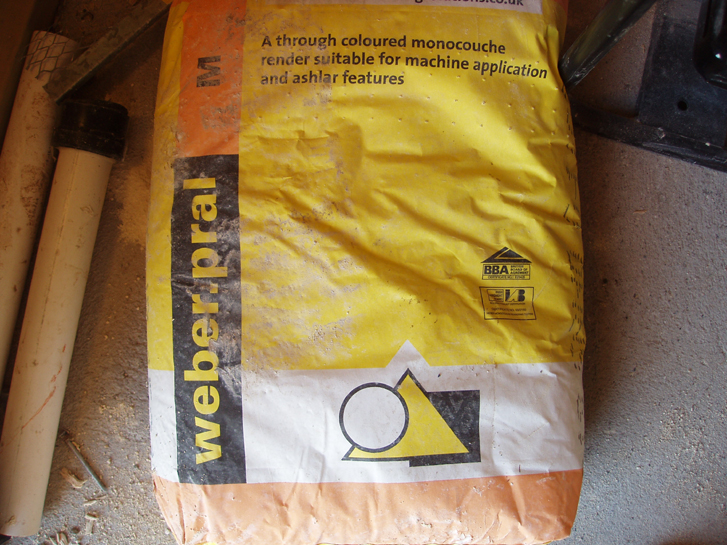
19 -
The Plastering Product Used - Colour Sand
|
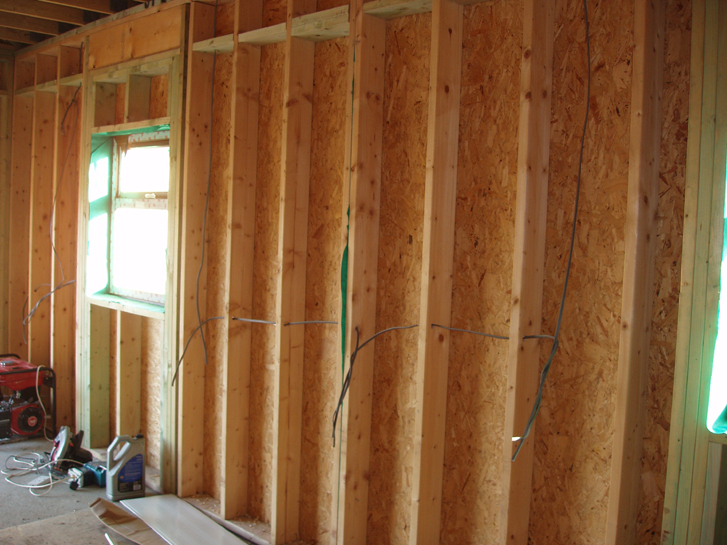
20 -
The First Fix Wiring Started But Only Just
|
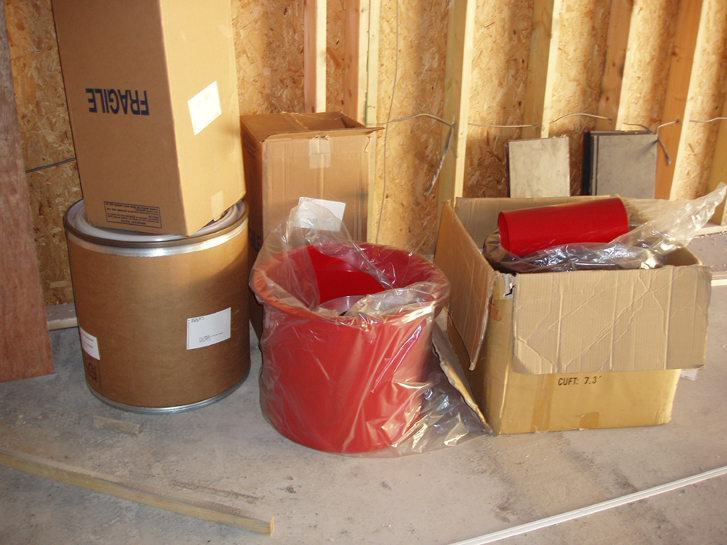
| 21 -
The Cyclone Arrives On Site - Not Yet Assembled
|
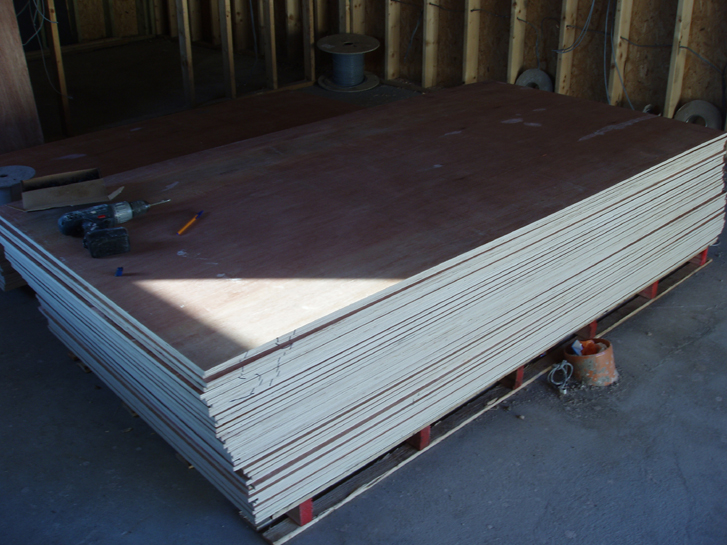
22 -
The 12mm Ply Arrives For Sheeting The Walls
|
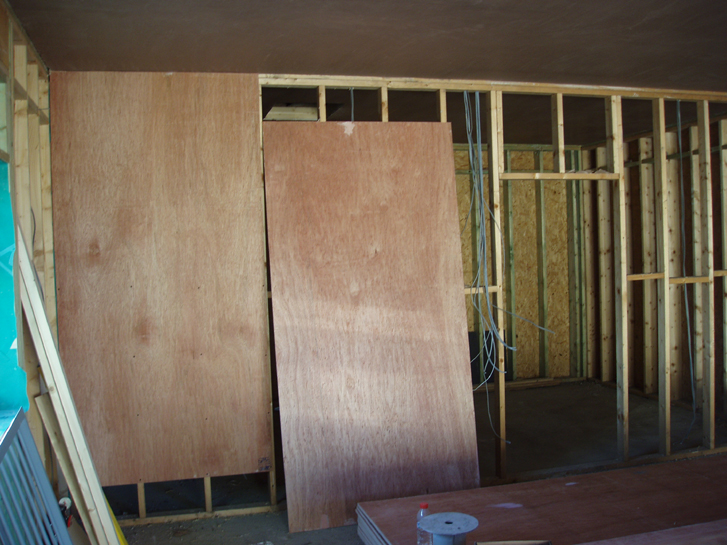
23 -
And The First On The Back Wall
|
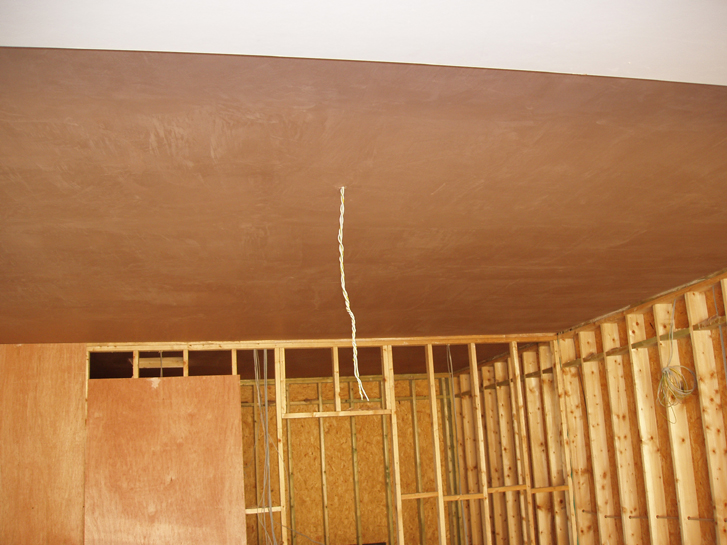
24 -
The Ceilings Plastered
|
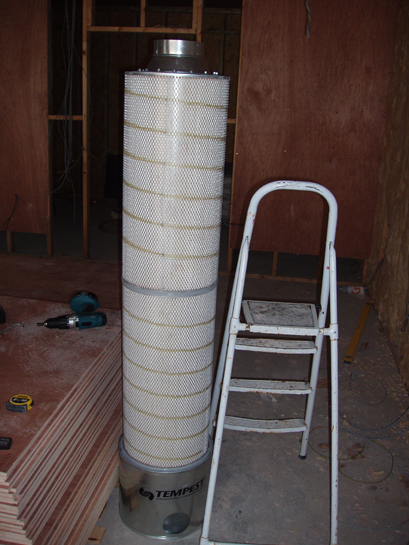
| 25 -
Time To Start Assembling The Cyclone - First the Filters
|
26 -
What they Look Like Together
|
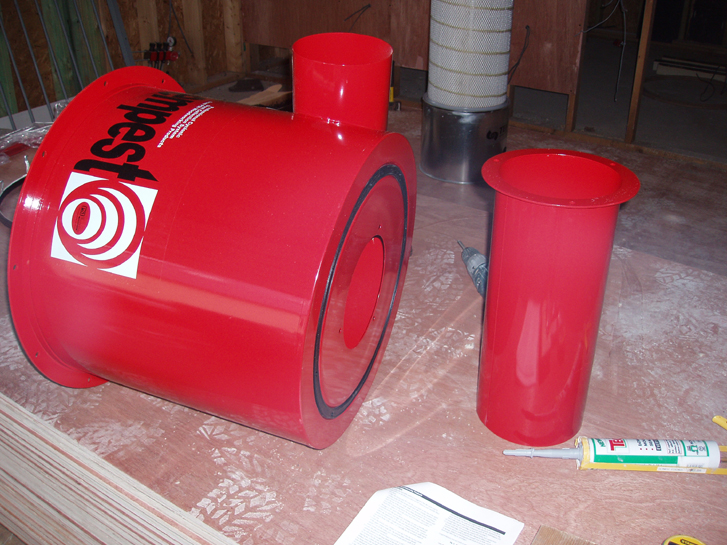
27 -
Now For The Cyclone Itself - Vortex Pipe & Upper Cyclone Body
|
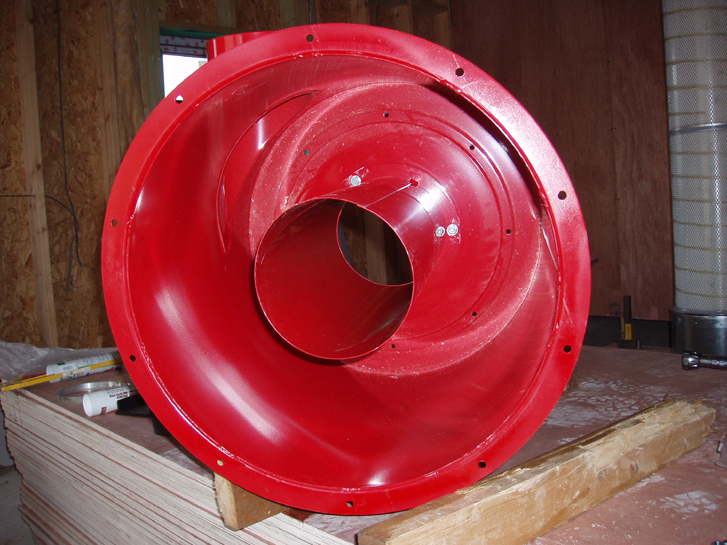
28 -
The Vortex Pipe Bolted Into The Upper Cyclone Body
|
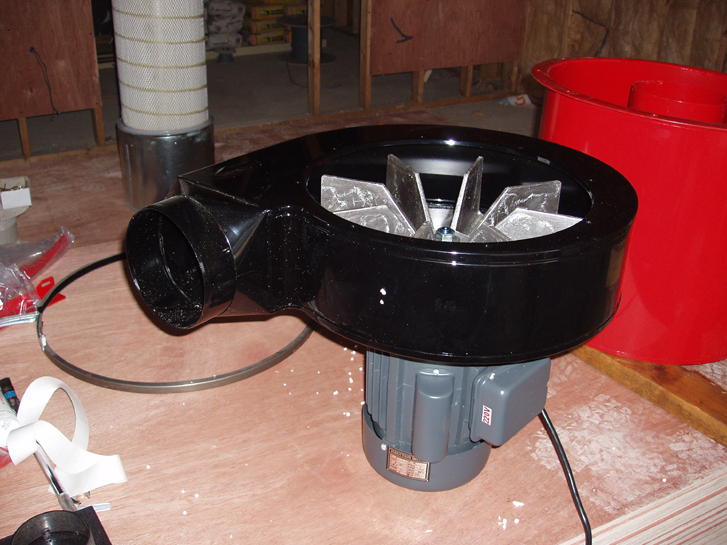
| 29 -
The Motor Blower
|
30 -
The Motor Blower Bolted To The Upper Cyclone Body
|
31 -
The Cyclone In Its Final Home
|
|