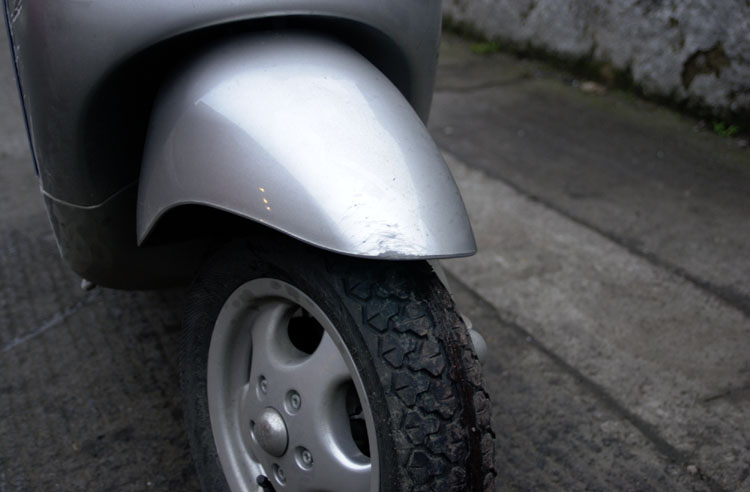
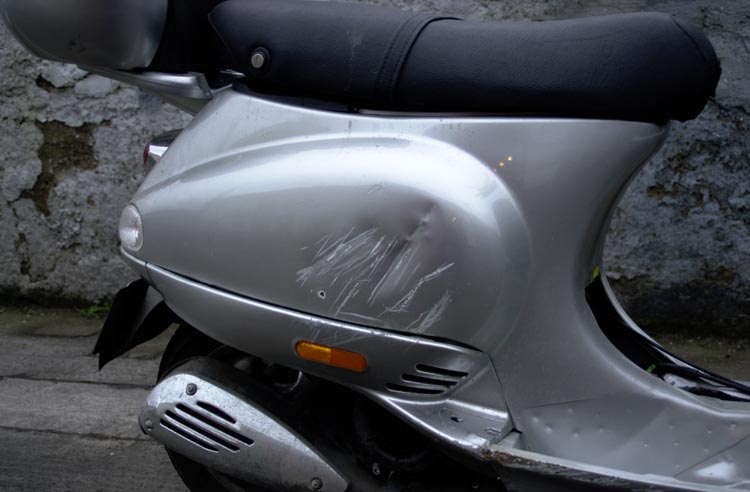
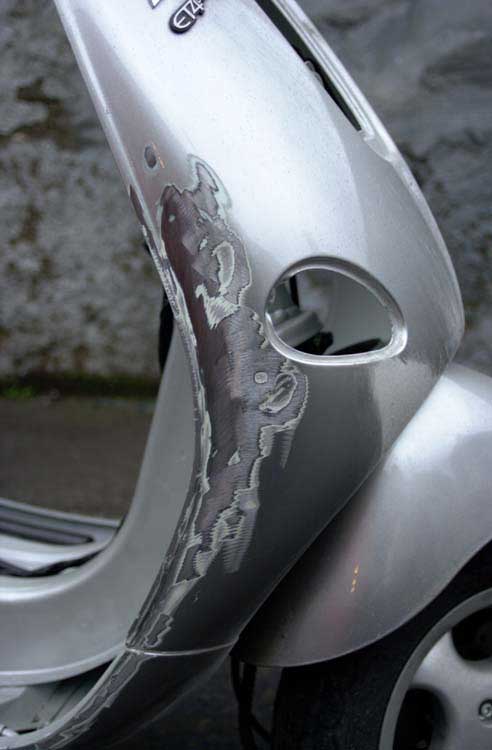
 When panelbeating the damaged area out, try to get it as close to the
original shape as possible. Inexperienced workers tend to either not beat the
area out enough and then put huge amounts of bodyfiller into the repair, or they
beat it out too far which makes it difficult to recover the shape later on.
Patience is the key here, a proper panelbeating hammer and dolly are not
expensive and gentle rapid tapping will get a better result than going at it
with a lump hammer. While this is easier said than done, practicing on a
scrap car wing or door will work wonders in improving your existing abilities
and confidence. The photo's here show the repair areas after shaping
and buzzing of the repair with a mini sander used with 40 grade sanding discs.
When panelbeating the damaged area out, try to get it as close to the
original shape as possible. Inexperienced workers tend to either not beat the
area out enough and then put huge amounts of bodyfiller into the repair, or they
beat it out too far which makes it difficult to recover the shape later on.
Patience is the key here, a proper panelbeating hammer and dolly are not
expensive and gentle rapid tapping will get a better result than going at it
with a lump hammer. While this is easier said than done, practicing on a
scrap car wing or door will work wonders in improving your existing abilities
and confidence. The photo's here show the repair areas after shaping
and buzzing of the repair with a mini sander used with 40 grade sanding discs.
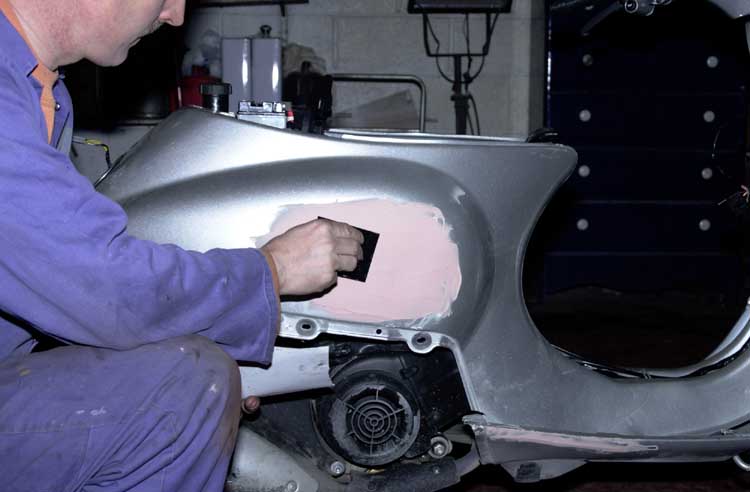 Getting the panel shape as close to perfect as possible means that you will
only have to put a light skim of bodyfiller on the repair. You will need to put
several skims on, allowing each to harden and then use 80-120 grade sandpaper to
get a rough shape on the area before putting more filler on. When the area is
looking good, use 220 wet & dry paper (used wet) to get close to the final
shape. The golden rule when running your hand over the area to check the repair
is that if you can feel any bumps or dips then they will certainly be very
visible after the final paint coats go on. You must also feather the edges of the
filler into the undamaged area in order to avoid an ugly "map" around
the area.
Getting the panel shape as close to perfect as possible means that you will
only have to put a light skim of bodyfiller on the repair. You will need to put
several skims on, allowing each to harden and then use 80-120 grade sandpaper to
get a rough shape on the area before putting more filler on. When the area is
looking good, use 220 wet & dry paper (used wet) to get close to the final
shape. The golden rule when running your hand over the area to check the repair
is that if you can feel any bumps or dips then they will certainly be very
visible after the final paint coats go on. You must also feather the edges of the
filler into the undamaged area in order to avoid an ugly "map" around
the area.
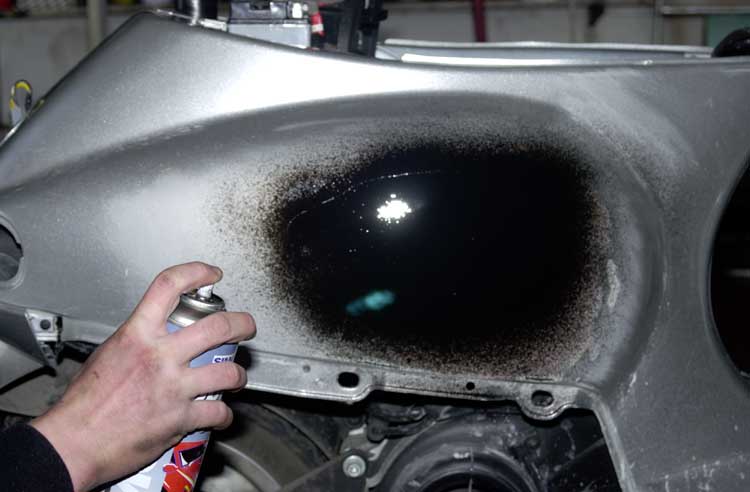 Use an aerosol can of any dark colour car paint to cover the repair area with a
guide coat. You don't have to put it on as heavy as in the photo, this is just
to show the procedure better. The initial look of the paint will give you an
idea of whether you are a million miles off or just a little bit off a perfect
finish. When the paint is dry, use 600 grade wet & dry (used wet) to gently
rub over the repair.
Use an aerosol can of any dark colour car paint to cover the repair area with a
guide coat. You don't have to put it on as heavy as in the photo, this is just
to show the procedure better. The initial look of the paint will give you an
idea of whether you are a million miles off or just a little bit off a perfect
finish. When the paint is dry, use 600 grade wet & dry (used wet) to gently
rub over the repair.
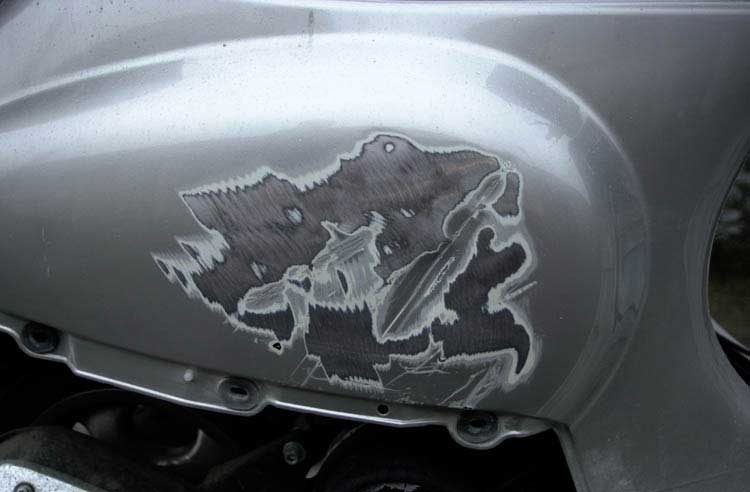
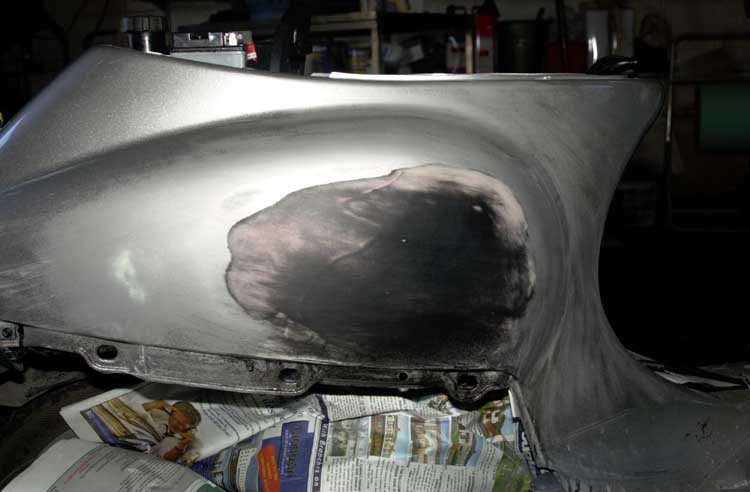 The dark areas where the guide coat paint is heaviest mean those areas need more
filler, while the small spot which has been relieved of paint is too high and
will need to be sanded down. When you have recovered the situation with more
filler and used 220 grade wet & dry to get things right, apply another guide
coat and check the repair again. The more time you spend getting this right, the
more likely the job will turn out perfect. It is all too easy to get impatient
and rush things and when you put the final coat of paint on, realize that you
could have done a lot better with a bit more time. The end result is always dependent on the amount of time and effort put in! Use 600 wet & dry on the
whole area to be painted before applying primer. A final rubdown with 600 and
then you can wipe the whole area to be sprayed with suitable degreaser. Some
people use petrol on a rag, while bodyshops will cringe at the thought of this
(petrol dries too quickly for a start but still does the job and is cheaper than
degreaser), I know many professional sprayers who use petrol to remove traces
of wax from the paint. Make sure to cover
the area around the repair too. Mask off all the areas to be sprayed with
masking tape and paper.
The dark areas where the guide coat paint is heaviest mean those areas need more
filler, while the small spot which has been relieved of paint is too high and
will need to be sanded down. When you have recovered the situation with more
filler and used 220 grade wet & dry to get things right, apply another guide
coat and check the repair again. The more time you spend getting this right, the
more likely the job will turn out perfect. It is all too easy to get impatient
and rush things and when you put the final coat of paint on, realize that you
could have done a lot better with a bit more time. The end result is always dependent on the amount of time and effort put in! Use 600 wet & dry on the
whole area to be painted before applying primer. A final rubdown with 600 and
then you can wipe the whole area to be sprayed with suitable degreaser. Some
people use petrol on a rag, while bodyshops will cringe at the thought of this
(petrol dries too quickly for a start but still does the job and is cheaper than
degreaser), I know many professional sprayers who use petrol to remove traces
of wax from the paint. Make sure to cover
the area around the repair too. Mask off all the areas to be sprayed with
masking tape and paper.
 When applying the primer, use a high build type, it covers the minor sanding
marks which you may have missed. The spray gun set to between 40-60psi will
suffice to suck the primer out of the pot and onto the repair. Two or three
coats, rubbed down between coats with 600 grade wet & dry will suffice.
Another rub down with 600 and a final degreasing should be followed by a light
rub of a "tack rag" which is a sticky cloth used to remove bits of
fluff, dust etc. Don't forget to use a proper mask suitable for spraying paint
& solvents! Make sure to wet the floor of the work shop and close all doors
(leave a window open so you can breathe through your mask and the fumes). Dust
is the enemy of any spray job and a damp floor will stop any stray breeze
lifting the dust onto the paint.
When applying the primer, use a high build type, it covers the minor sanding
marks which you may have missed. The spray gun set to between 40-60psi will
suffice to suck the primer out of the pot and onto the repair. Two or three
coats, rubbed down between coats with 600 grade wet & dry will suffice.
Another rub down with 600 and a final degreasing should be followed by a light
rub of a "tack rag" which is a sticky cloth used to remove bits of
fluff, dust etc. Don't forget to use a proper mask suitable for spraying paint
& solvents! Make sure to wet the floor of the work shop and close all doors
(leave a window open so you can breathe through your mask and the fumes). Dust
is the enemy of any spray job and a damp floor will stop any stray breeze
lifting the dust onto the paint.
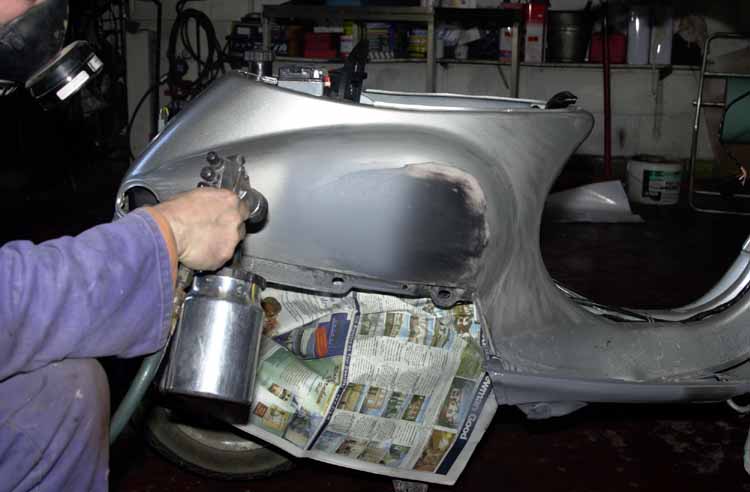
 This bike being a metallic silver means the silver base has to be applied first.
Set the pressure at the regulator to between 30-40psi and spray the basecoat on
in a haze rather than in lines (which you do with the lacquer coats). Spraying
metallic paint in lines often results in a "zebra stripe" effect. A distance
of around 10" is okay for this. Several coats of basecoat (with a few
minutes between coats) will be needed to
cover all traces of the repair.
This bike being a metallic silver means the silver base has to be applied first.
Set the pressure at the regulator to between 30-40psi and spray the basecoat on
in a haze rather than in lines (which you do with the lacquer coats). Spraying
metallic paint in lines often results in a "zebra stripe" effect. A distance
of around 10" is okay for this. Several coats of basecoat (with a few
minutes between coats) will be needed to
cover all traces of the repair.
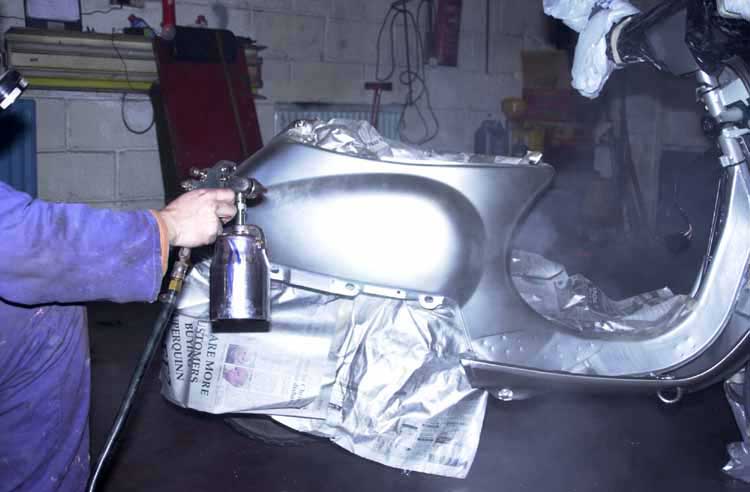
 After the base has dried fully (at least 20-30 minutes at a room temperature of
20 degrees Celsius) you can spray the lacquer coats. One light coat followed by
a heavier final coat is the norm. Allow 10-15 minutes between coats. When
spraying the lacquer you should keep the gun a distance of around 10" from
the surface and work from side to side. Overlap each pass slightly and release
the trigger after each pass to avoid runs.
After the base has dried fully (at least 20-30 minutes at a room temperature of
20 degrees Celsius) you can spray the lacquer coats. One light coat followed by
a heavier final coat is the norm. Allow 10-15 minutes between coats. When
spraying the lacquer you should keep the gun a distance of around 10" from
the surface and work from side to side. Overlap each pass slightly and release
the trigger after each pass to avoid runs.
 This is the Vespa next day, prior to buffing and reassembly. The buffing &
finishing process in the following photo's show a different bike just to make
things more colourful.....
This is the Vespa next day, prior to buffing and reassembly. The buffing &
finishing process in the following photo's show a different bike just to make
things more colourful.....
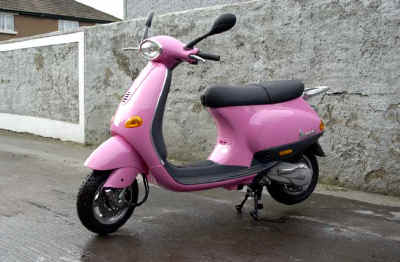
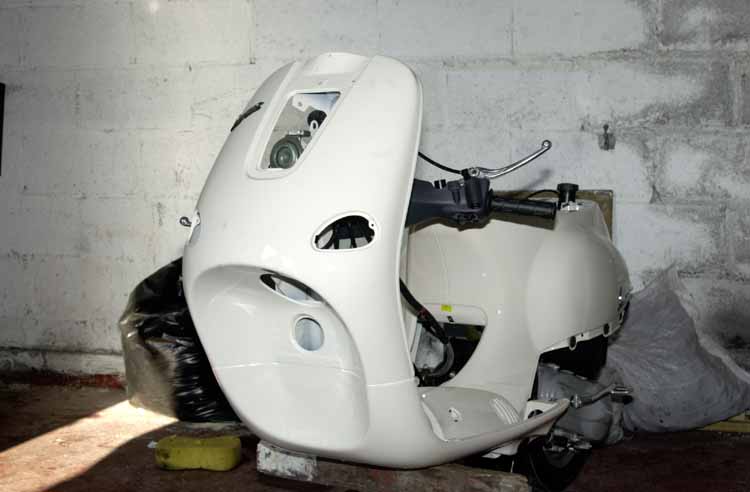 ..... a young lady bought this new Vespa from Skooters in Dublin but she wanted
a pink one. Unfortunately at the time they didn't come in pink so she bought a
white one and paid the shop extra to have it sprayed in the pink of her choice.
The two shots here show the garage junior doing the messy work, stripping all
the main bits off the bike.
..... a young lady bought this new Vespa from Skooters in Dublin but she wanted
a pink one. Unfortunately at the time they didn't come in pink so she bought a
white one and paid the shop extra to have it sprayed in the pink of her choice.
The two shots here show the garage junior doing the messy work, stripping all
the main bits off the bike.
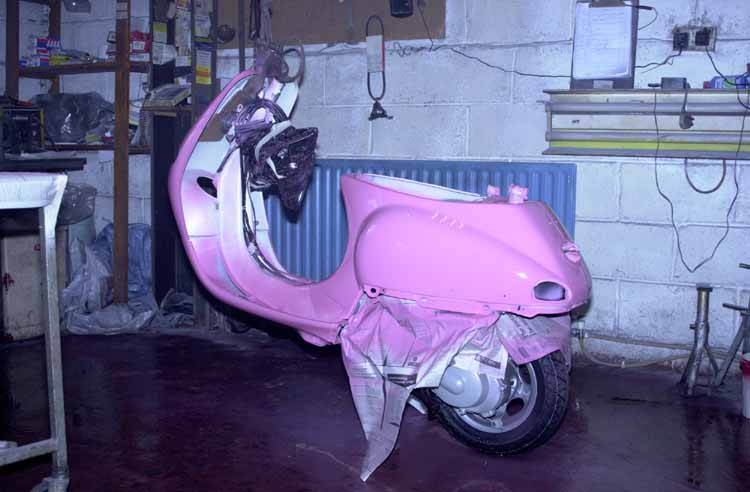
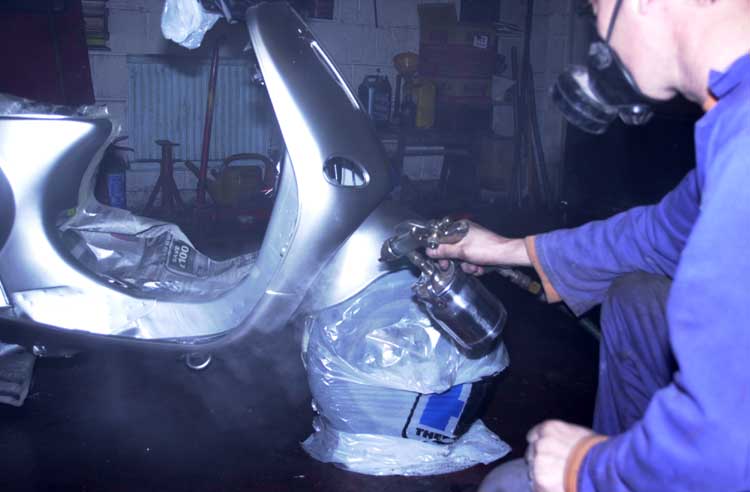
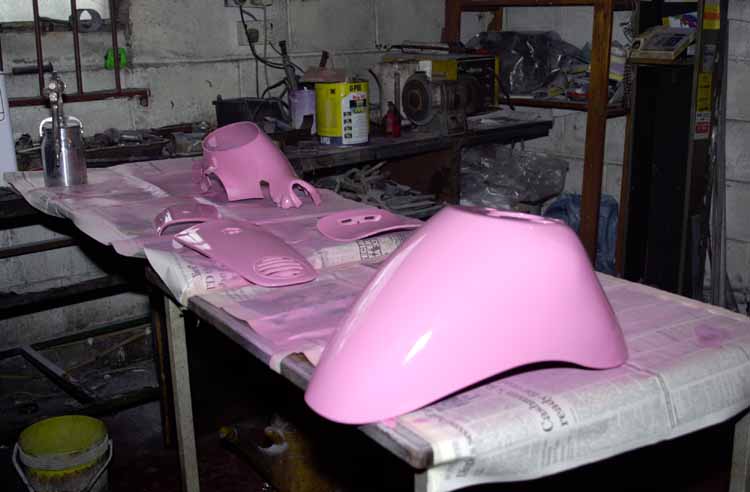 The first coat of paint applied after the usual preparation. This job was handy
enough and just required that the existing paint be rubbed down wet with 400 wet
& dry and of course degreased and wiped with a tack rag. I had to suspend
the bike from the roof so that I could pass the spray gun under the base.
The first coat of paint applied after the usual preparation. This job was handy
enough and just required that the existing paint be rubbed down wet with 400 wet
& dry and of course degreased and wiped with a tack rag. I had to suspend
the bike from the roof so that I could pass the spray gun under the base.
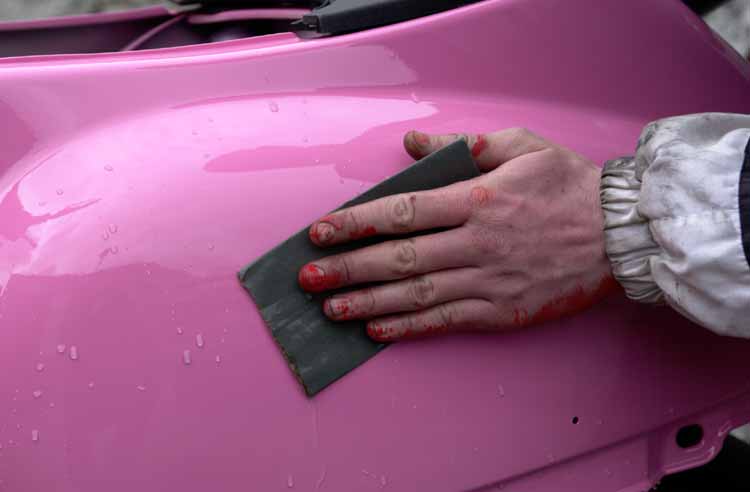
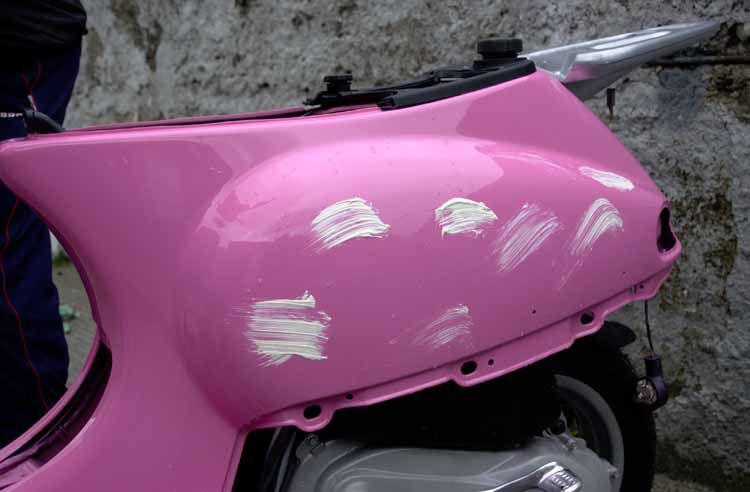
 These shots show the bike being lightly flicked with 1500 wet & dry in order
to remove any bits of dust which got onto the finish, this should be done around
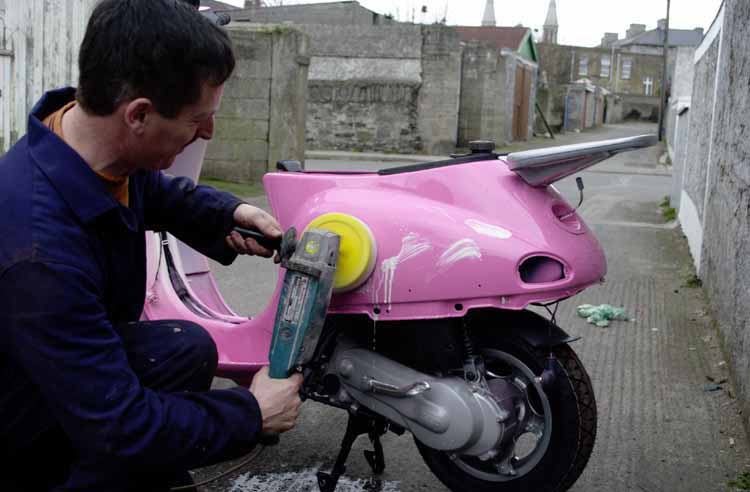
24 hours after the paint has hardened fully. Compound is then spread over the
panels and a buffing machine used with plenty of water puts the final finish on
the paint. This can be done by hand but will take a lot longer. Some people use
the accessory pads with a buffing cloth attached to a power drill, but be warned
that the average two speed drill spins too fast for this sort of job and can
leave burn marks in the paint. If you must use a drill, make sure it is a
variable speed type set to around 1400rpm and at all costs keep the pad flat on
the panel. Be extra careful when passing the buffer over panel edges as it is
all too easy to remove the finish here. Needless to say, use lots of water here,
especially on the second and later passes because this gives the shine. Don't
wear your Sunday best for this job because the machine throws water and
compound all over the place and has a habit of finding the power point where you
plugged into if it is close! A plastic bag over the plug & socket will save
potential grief here. Wash the bike properly soon afterwards before the
splattered bits of compound get to dry on the paint. Dried compound is a real
pig to remove from any vehicle.
These shots show the bike being lightly flicked with 1500 wet & dry in order
to remove any bits of dust which got onto the finish, this should be done around
24 hours after the paint has hardened fully. Compound is then spread over the
panels and a buffing machine used with plenty of water puts the final finish on
the paint. This can be done by hand but will take a lot longer. Some people use
the accessory pads with a buffing cloth attached to a power drill, but be warned
that the average two speed drill spins too fast for this sort of job and can
leave burn marks in the paint. If you must use a drill, make sure it is a
variable speed type set to around 1400rpm and at all costs keep the pad flat on
the panel. Be extra careful when passing the buffer over panel edges as it is
all too easy to remove the finish here. Needless to say, use lots of water here,
especially on the second and later passes because this gives the shine. Don't
wear your Sunday best for this job because the machine throws water and
compound all over the place and has a habit of finding the power point where you
plugged into if it is close! A plastic bag over the plug & socket will save
potential grief here. Wash the bike properly soon afterwards before the
splattered bits of compound get to dry on the paint. Dried compound is a real
pig to remove from any vehicle.
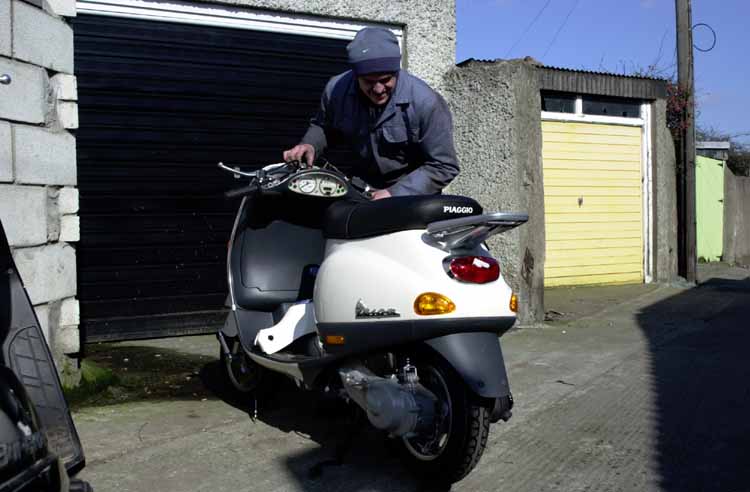
The finished article, all ready to be bounced around in the back of a delivery van on it's way back to the bike shop!