Greater Sites
Digital Photo
|
Superimposing
|
|
|
Superimposing means taking some of one picture
and placing it in another.
For example: Placing your head on another body. |
|
PSP tool bar
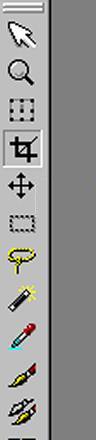 Hold the mouse over a tool to see its name. Photoshop le |
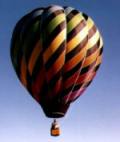 Balloon |
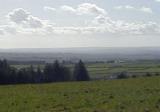 Field |
|
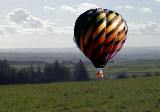
On the photos above we are going to Superimpose
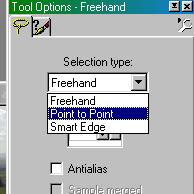
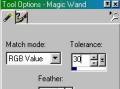
the balloon onto the field image. There are two ways of doing this, you can cut freehand with the lasoo tool, or you can use the magic wand tool. Here is an ideal opportunity to use the magic wand tool because the background of the balloon pic is of the same color.
Selecting
the balloon
2. Using the magic wand tool. With the balloon selected.
|
||
|
|
|
|

Greater Sites Digital Photo Navigation
|
Superimposing
|